Smoked Pork Loin
It’s Grilling Season and I can think of no better way to celebrate than with a delicious, tender Smoked Pork Loin. Back in the day, here in the South, Memorial Day was also called Decoration Day. Families would take flowers and flags to the cemetery to decorate the graves of fallen heroes. Often, they would use the opportunity to reunite with family members who had also come to pay their respects. These family reunions would usually include a picnic lunch. And so began the tradition that has become the Memorial Day cookout.
Memorial Day also signals the start of summer and grilling season. Kids laughing, old men telling tales and the food – fresh red tomatoes, sweet watermelon and, over it all, that lip-smacking smell of grilled meat! Man, you can’t do better than that first cookout of summer!
The Loin
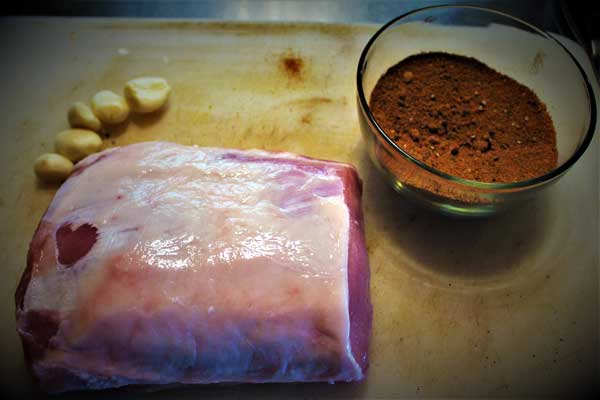
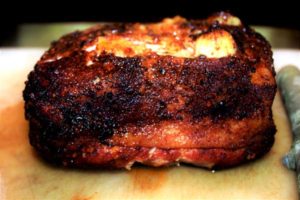
For my celebration this year, I chose a beautiful pork loin because, well, you know, I love me some hog! Kroger happened to have a great sale and I snapped up a couple. It’s going to be just me and Miss Frankie, so I cut them in half and froze the rest. I will often brine pork to ensure tenderness but I didn’t brine this pork loin (you can tell by the bright color of the meat).
This post is mainly about the rub but I did want to give you a few tips on choosing a good piece of meat for this Smoked Pork Loin. Pork loins have a layer of fat on top. That fat cover should be no more than ¼ inch or you’ll be paying good money for the weight you can’t eat. Of course, “fat is flavor” but you want to get that flavor within the meat so look for one with a bit of marbling. The perfect loin will be firm and bright grayish pink.
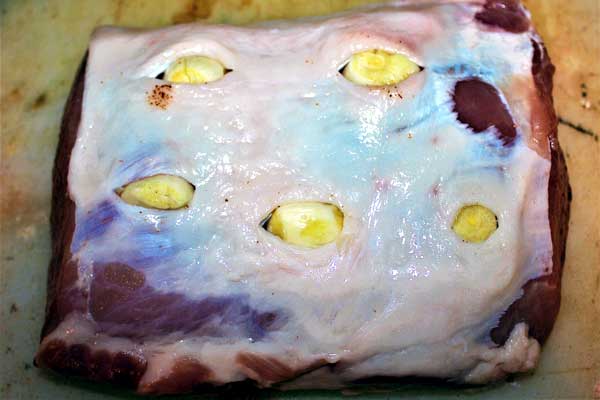
Just to take this over the top, I cut small slits in the meat to insert garlic cloves and get all that good, garlicky flavor down into the meat.
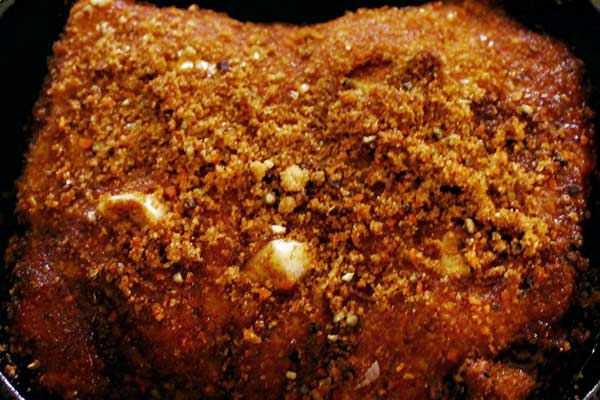
The Rub
Now, the rub…a rub adds flavor to any smoked or grilled meat. This is what’s going to set your pork loin apart. You can use just salt, pepper and garlic powder or go more ethnic with Cajun, Asian or Southwest flavors. Really, the only limit is your imagination. You can buy rubs pre-mixed at the store but it’s awfully easy to make one and, once perfected, can become your signature flavor – a little “family secret”.
What I’m doing today is a dry rub, although it really is kind of a hybrid because of how I prepare the meat. The dry rub is the mixture of spices and other dry ingredients, such as sugar. A wet rub is where you mix those dry ingredients with something like olive oil or Worcestershire. I actually rub down the meat with a little olive oil to help the rub stick, help it seep into the meat and give a little extra moisture to the meat.
I do sometimes add a little brown sugar to a rub but if you choose to do that, be careful of your temperature. Sugar burns at 275 degrees and the last thing you want on the outside of your beautiful pork loin is an inedible, thick, blackened crust. Pretty important since a good barbecue joint will allow you to specify inside or outside meat and those “outside” people get pretty worked up over a burnt crust.
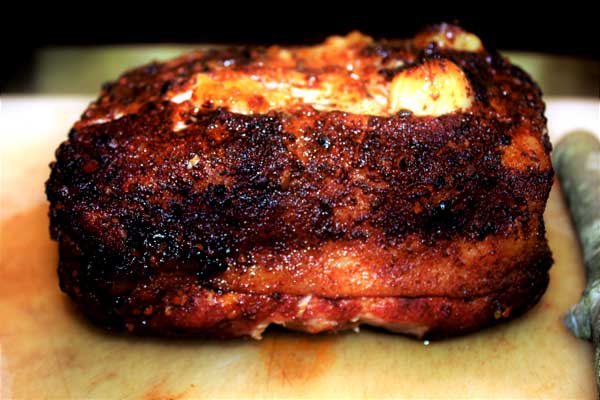
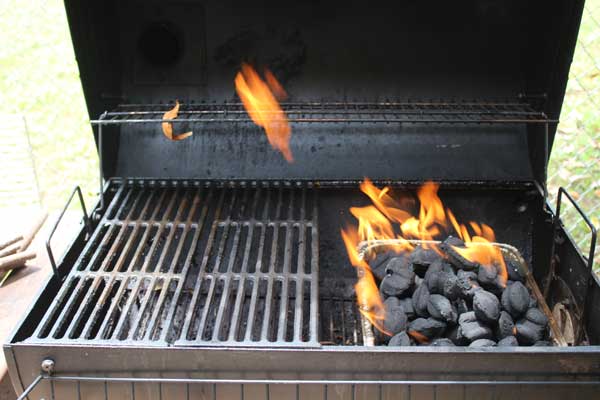
That’s about it for this delicious Smoked Pork Loin. See the previous post for my take on smoking your meat. Just do me a favor – once you’ve tried this out, work on your own secret rub recipe – your family and friends will love you for it!
 Ingredients
- 1 head garlic
- 1 tablespoon table salt
- 2 teaspoons black pepper
- 1 teaspoon dry mustard
- 1 teaspoon cumin
- 1 teaspoon garlic powder
- 2 teaspoon’s chipotle chili powder
- ½ teaspoon ground cinnamon
- 2 tablespoons light olive oil
Directions
Rinse off your pork with cold water and pat dry. Trim any excess fat. Cut 1″ slits in the fat side of the loin and insert a clove of garlic in each slit. In a bowl mix the first 7 ingredients together. Using your hands, coat the dry meat well with olive oil. Wash and dry your hands to get the oil off, sprinkle your rub on the meat and pat it in. Bake or smoke as desired.
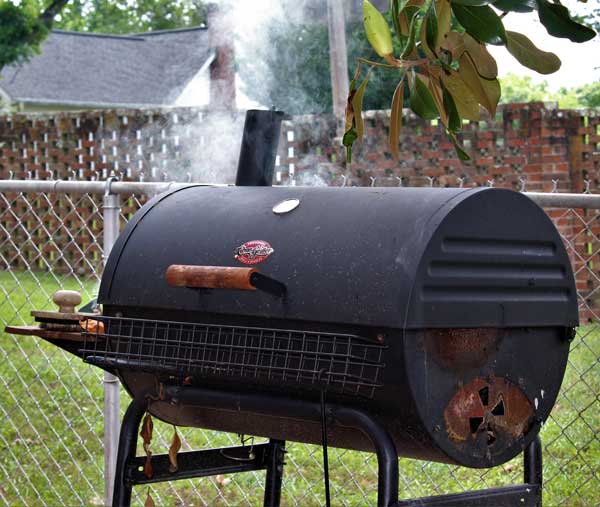
Smoking directions
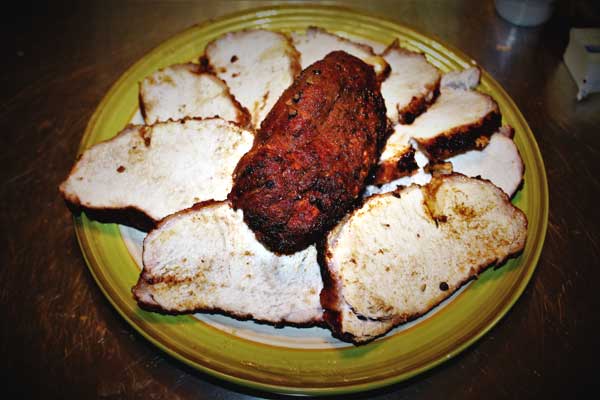
Heat smoker to 250°. Place pork on oiled grate, shut door or lid and smoke for 2 ½ hours. Remove pork loin and wrap in a foil pouch. Put back in smoker, reduce heat to around 175° and allow to smoke for another 3-5 hours, depending on the cut and size of meat. I like an internal temperature of no less than 170°. Remove from smoker and allow to rest 30 minutes before removing from foil and slicing.
[/recipe]


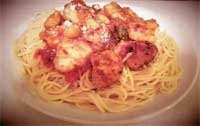 Marinara