This is one of the first recipes I wrote down when I started to develop my blog. Enjoy!
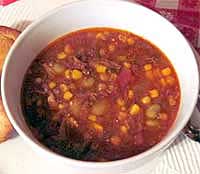
Brunswick Stew is a favorite dish in this part of the country. In fact, it’s such a favorite, folks get downright territorial about it…there are people all up and down the coast of Georgia that say it originated one place or the other.
I tend to get a bit philosophical about Brunswick Stew, maybe because it takes so long to make, I feel I have a real investment in it. I wrote this recipe as a mission statement because it kind of sums up how I feel about cooking in general.
There are two ways to learn to cook something -you can follow a recipe and measure the exact amount of all the different ingredients called for put them together in a certain order and apply a predetermined heat for a predetermined amount of time and more times than not you will end up with a really good product.
OR you can ask the person who cooked that unbelievable dish, “How did you make this”? But be forewarned, you better be ready to listen close and write fast because what you will end up with is a little treasure on paper with all the do’s and don’ts and, more importantly, the why’s and why not’s of the dish. And that little piece of paper will hold so much knowledge that it will make other folks mouth water and say stuff like “I never even knew I even liked this” or “This tastes even better than it smells” or the blue ribbon of compliments, “This tastes just like my Mother’s used to make”. So yes, I will give you the recipe but I’m also going to tell you HOW to make it.
To start with, dig out your biggest pot, something that would hold two gallons of water at a good boil without scalding you. If you don’t have one, they are cheap enough and always good to have around if you need to soak your feet or something.
For this post, I’m using a whole fryer but you don’t have to do that. The cool thing about this dish is it is a “clean out your freezer” recipe. If you have a bunch of chicken thighs or leg quarters in the freezer, use them! If you’ve got miscellaneous pork chops or beef cuts, you can definitely use them. Just keep in mind, you need 3 lbs. bone-in chicken and 1 lb. each of the pork and beef.
Put a whole chicken, skin on, guts removed, breast side up, in your pot and barely cover it with water (too much water will weaken the broth), put in a good tablespoon of salt and bring to a fierce boil. Turn it down to medium. Put the lid on and keep an eye on it. If it stops boiling, turn it up some. You want it to boil for quite a while, about an hour. If the water boils down so you can see the breast poking out above the water, pour in just enough water to cover her back up.
When you can spin the leg bone in the chicken, turn the pot off and let it cool some. Get a big plate or a casserole dish, remove the chicken from the pot and place it on the plate. I always try to use a BBQ fork and a large stirring spoon to do this. If you can’t do it without getting burned, let it cool a little more.
O.K., you have to decide where you are going to get the additional liquid needed for your stew. You have the broth from your chicken but it won’t be enough. If you save and freeze your chicken juice. you good to go. If not add chicken broth from a carton, although you are going to need at least a half a gallon and it is kind of expensive. Something that can help is to mix chicken broth and potato water (yes, you can freeze the water after boiling potatoes). Mix it 50/50 and throw in a couple of bouillon cubes. Worse case, don’t drain your tomatoes before using and add a couple of bouillon cubes.
Once the chicken is cool enough to handle, pull all the skin off and discard. Pull all the meat off the bone and put it back into the pot. When you think you got all the meat off, remember there’s a bunch more good meat underneath so dig for it!. You can save and freeze the bones and add with carrots, onions, and celery to make a wonderful stock.
Next, using a pound of pork loin or whatever kind of boneless pork you have, remove as much fat as you can. Remember, you have the fat from where you boiled the chicken with skin in the pot already. Cut into small pieces and place in the pot with the chicken. You can go ahead and put the heat back on the pot. Do the same thing with a pound of beef. If you have more than a pound of pork or beef don’t sweat it, it will just make it better but if you are a little short on one, try to make it up with the other. Remember this is a real meaty stew.
Add the rest of those delicious goodies, veggies and spices. Makes your mouth water already, doesn’t it? Bring it back to a boil, stir and cover.
Dang that’s a lot of stuff ain’t it? Stir all the way to the bottom and OFTEN. Taste testing is important as you go along. Remember to add things in small amounts and allow time for the flavor to change. I like to let it simmer on low for a long time but it is edible in about 2 hours. Patience will be rewarded with a better blending of the flavors.
Well, that’s how I make Brunswick Stew. See how you feel about it after you try it out. It’s not just a dish, it’s an EXPERIENCE!
[recipe title=”Brunswick Stew” servings=”10-12″ time=”4 hours” difficulty=”easy”]
 Ingredients
-
-
- 3 lbs chicken (whole fryer or pieces)
- Water to cover
- ½ gallon additional liquid (any combination of chicken broth, potato water, bouillon)
- 1 lb. boneless pork loin (or desired cut), cut in small pieces
- 1 lb. boneless beef chuck roast (or desired cut), cut in small pieces
- #10 can of stewed tomatoes (drained well unless you need the additional liquid)
- 1 large diced onion
- 1 tablespoon salt
- 2 teaspoons fresh cracked pepper
- 1 tablespoon garlic powder
- 1 teaspoon cayenne pepper or 2 teaspoons chipotle pepper
- 1⁄2 cup apple cider vinegar
- 3⁄4 cup Sweet Baby Rays original BBQ sauce
- 3 tablespoons yellow mustard
- 1⁄4 cup Worcestershire sauce
- 1 -1 1⁄2 pounds frozen whole kernel corn
- 1 pound frozen baby lima beans
Wash chicken, remove giblets and place in heavy stockpot, breast side up with enough water to barely cover. Cover, bring to a boil and allow to simmer quickly for 1 hour. Add additional water as required to keep chicken covered. Remove chicken from broth and allow to cool, then remove all skin and discard. Remove chicken from bones and add to pot with broth. Add additional liquid.
Add pork and beef to pot, then add remaining ingredients. Bring stew back to a simmer. Allow to simmer as long as possible, minimum 2 hours. Serve in bowls with cornbread.
[/recipe]


 Ingredients
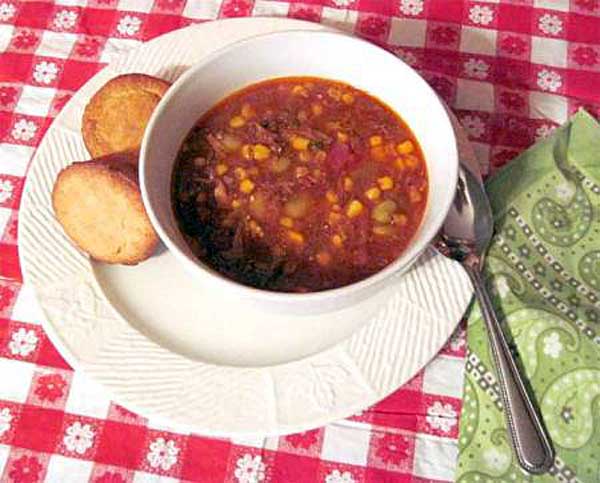

 Ingredients
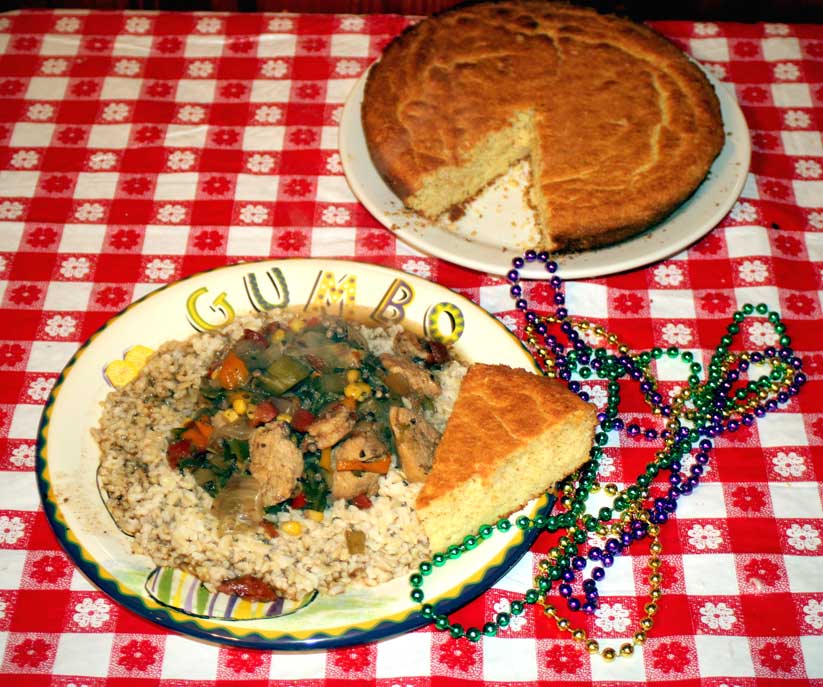
 Ingredients